

PROCESS / HIGGSFIELD
Boiler Room - Fred Again
The final result, the references, and the prompt.
Getting AI videos to look real, especially getting your face right, isn’t always easy. But the right tools and a strong reference image? That’s your superpower.
Higgsfield makes it super simple. Let’s try this exercise together.
 @advmsyed2.4K
MAKE YOUR OWN
Start with two references.
I used Higgsfield to make the character sheet. These are my references. Replace them with your own when you try it.
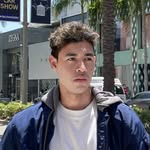
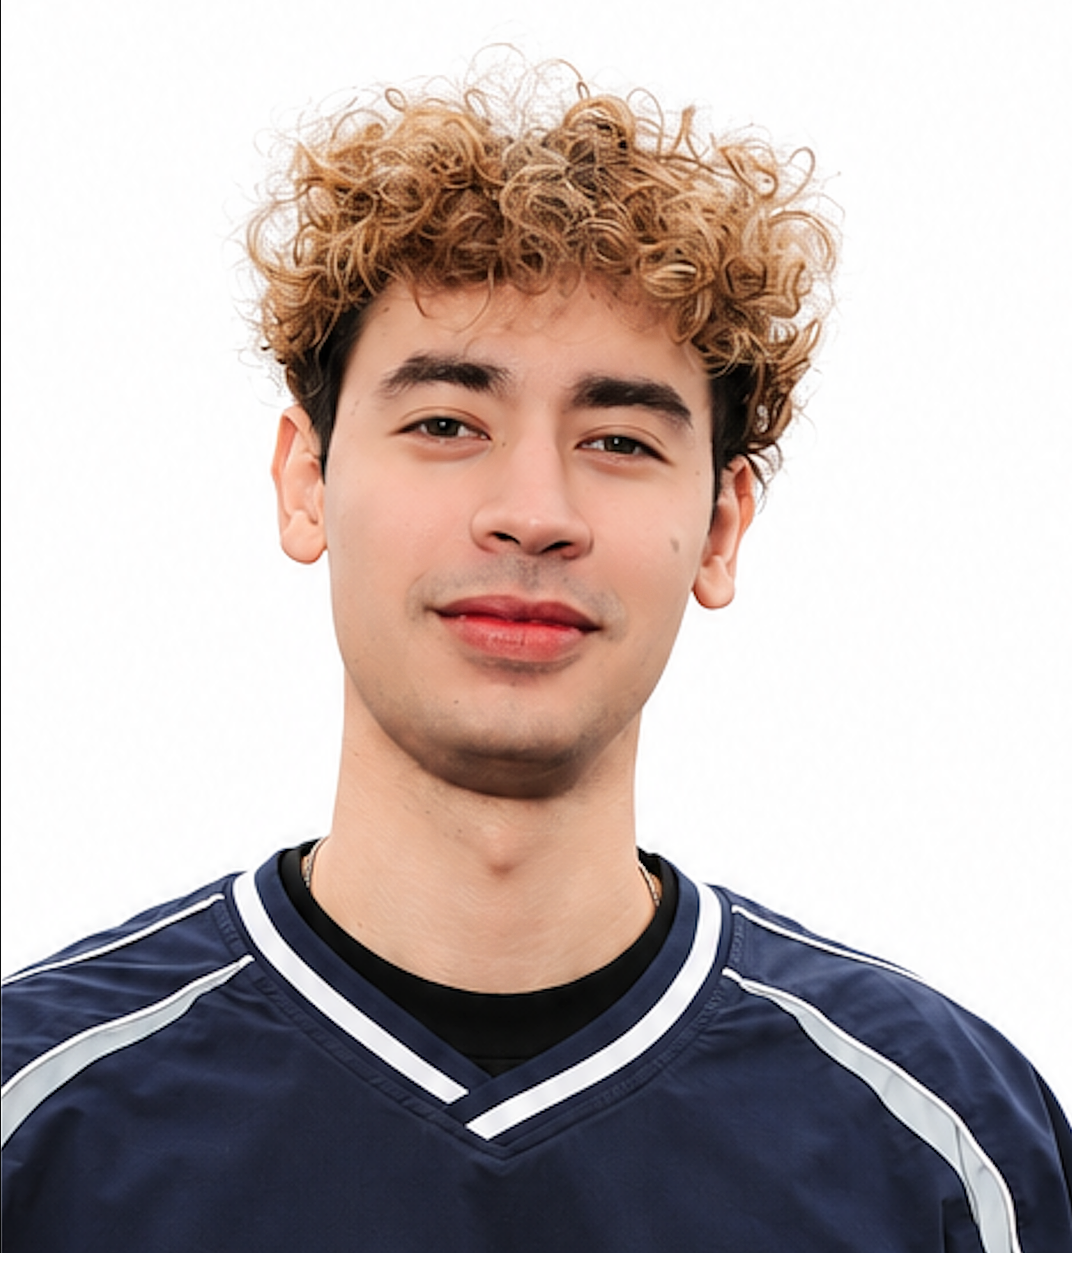
Start with a clear photo.
A selfie works. Pick one where your face is easy to see. This was mine.
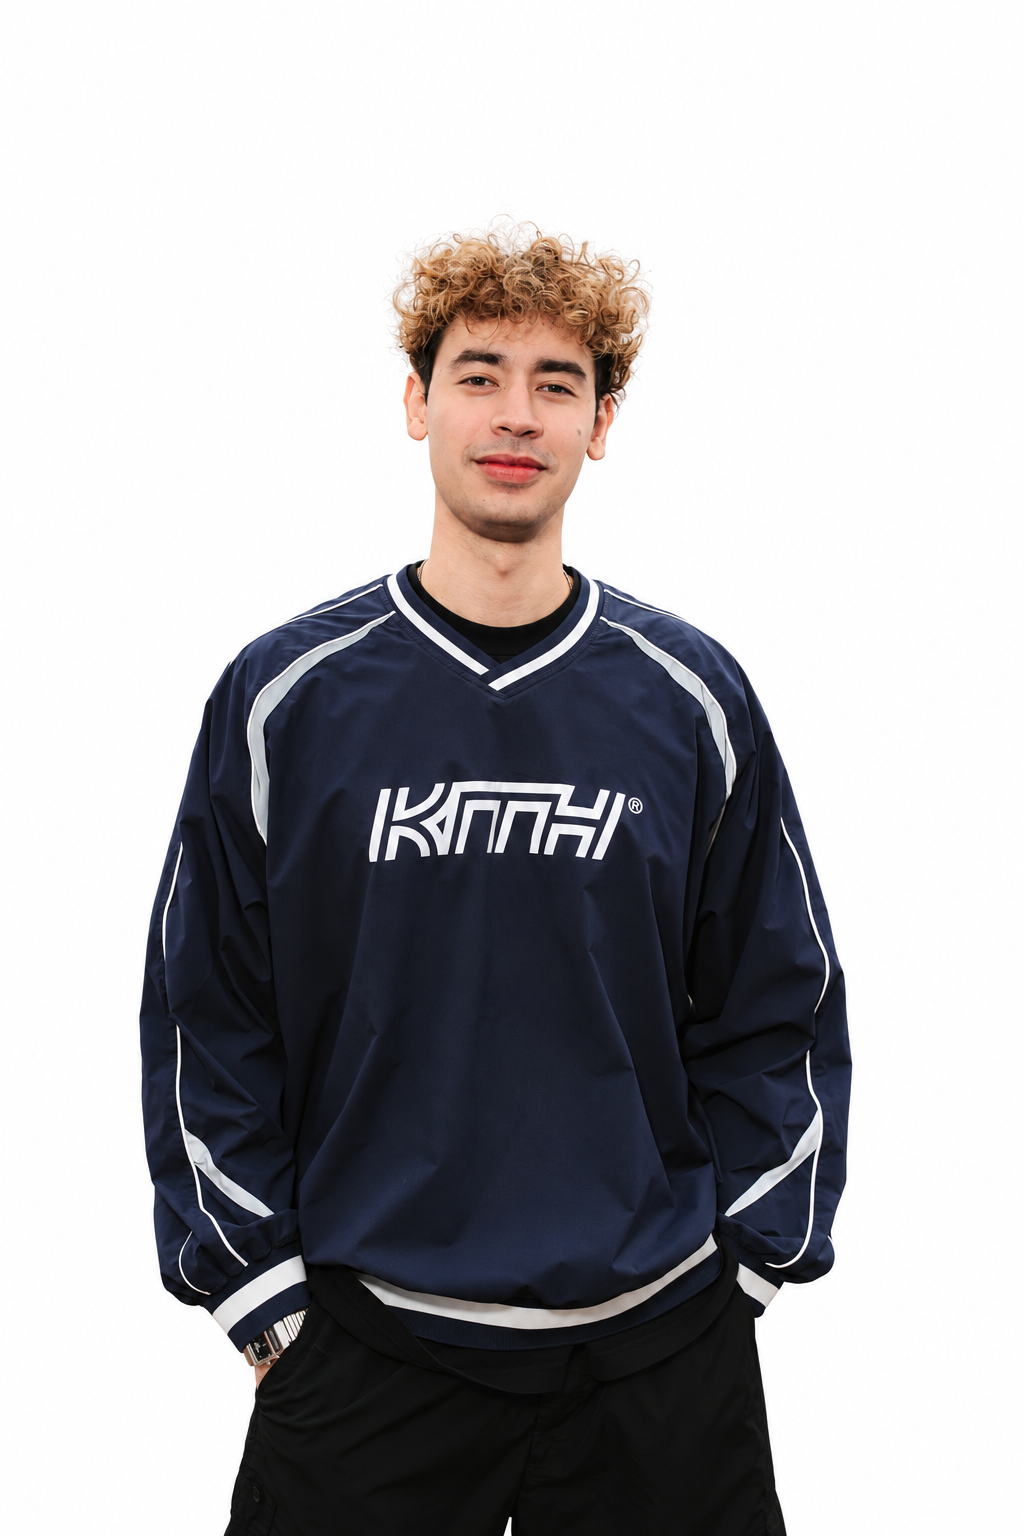
Choose what you’ll wear.
Find a reference that shows the look you want. I went with a navy KITH windbreaker.
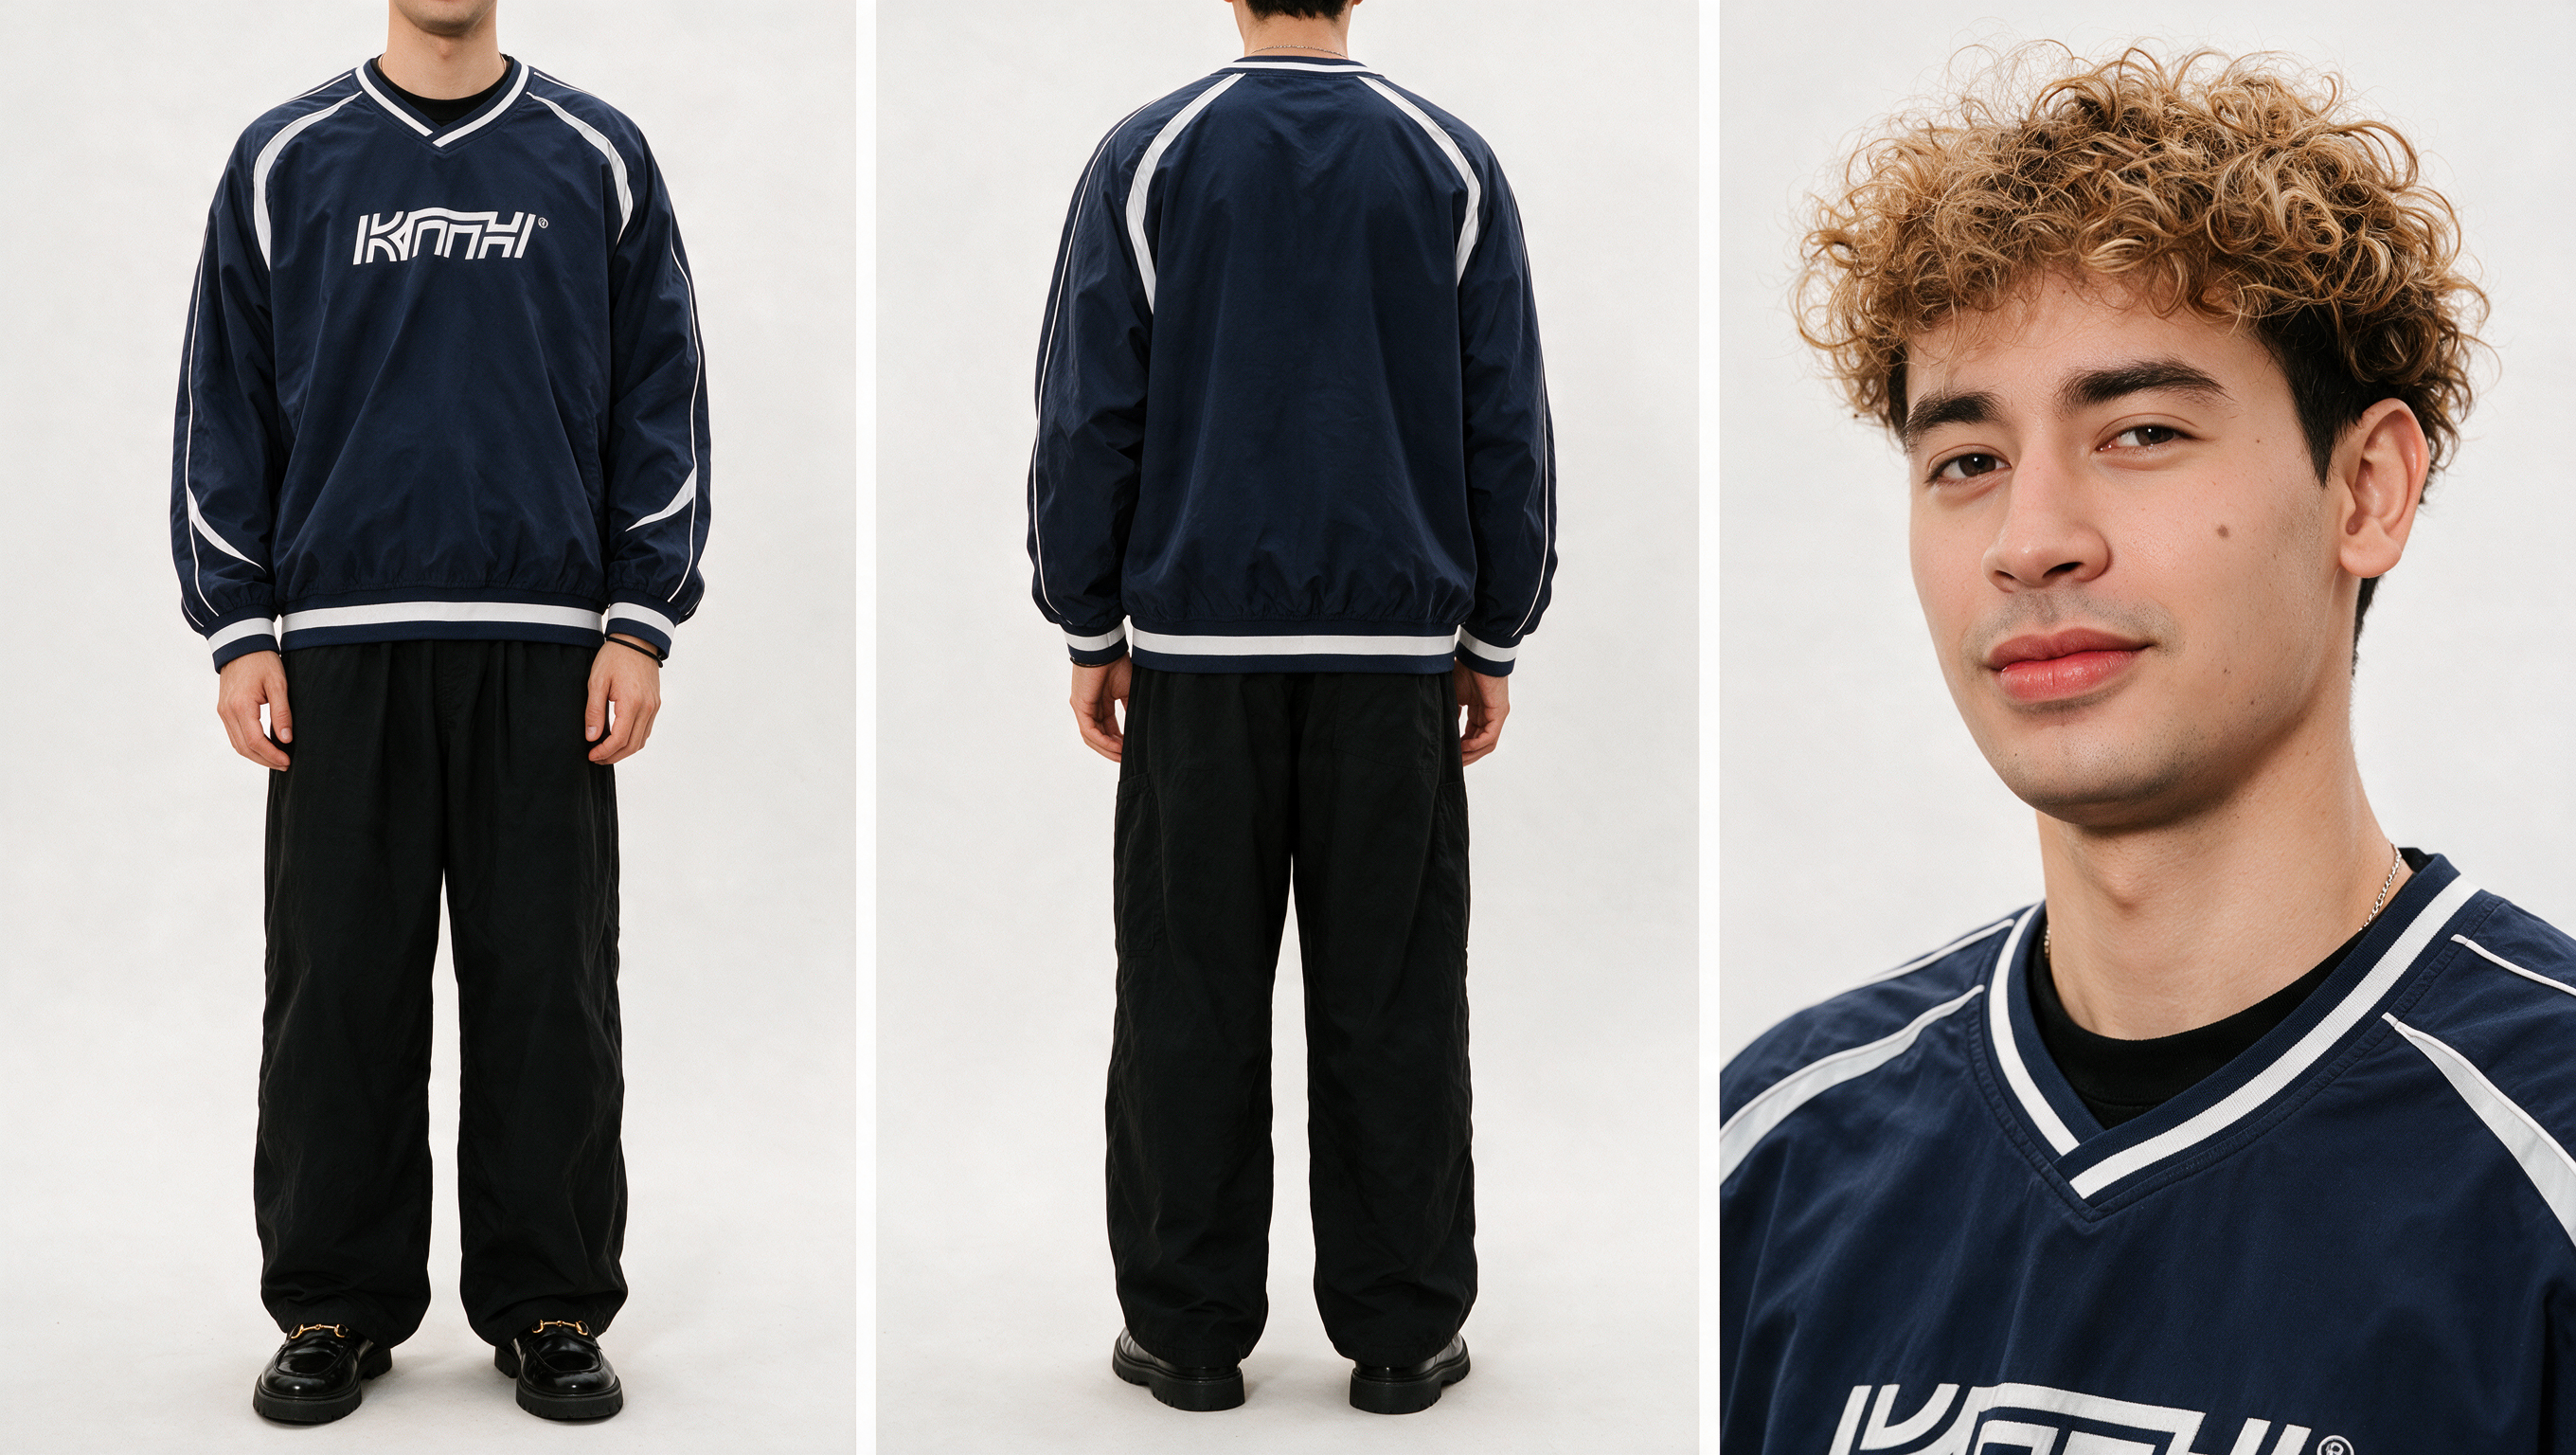
Make the character sheet.
Open the image generator in Higgsfield. I used Seedream for the character sheet; you can also use GPT 2.5. Add your face photo as Image 1 and your outfit reference as Image 2. Replace the bracketed details in the prompt below, then generate.
View the reusable prompt
Use Image 1 as the identity reference and Image 2 as the outfit reference. [Replace the example images with your own before generating.] Create a 3-panel character reference sheet arranged as three equal vertical columns in one horizontal frame. Separate the panels with thin, clean white gutters. Use the same soft off-white seamless studio backdrop throughout. PERSON The same person from Image 1 in all three panels. Preserve their facial structure, skin tone, eyes, brows, nose, lips, natural marks, hair texture, hair color, and proportions. Do not copy the identity of a different person from the outfit image. Build and proportions: [describe your build and height]. Details to preserve: [add any important facial marks, hairstyle details, or accessories]. OUTFIT Dress the person in the outfit from Image 2. Match its colors, silhouette, fabric, fit, seams, piping, and visible details. Top: [describe the top, fit, colors, and any lettering you want]. Bottoms: [describe trousers or other bottoms, including fit and fabric]. Shoes: [describe shoes, color, material, and hardware]. Accessories: [list accessories, or write none]. Use these descriptions to complete anything not visible in Image 2. PANEL 1 — FRONT Full body front, cropped at the jawline so the frame runs from the chin to the floor. Straight-on neutral stance, feet slightly apart and parallel, weight even, arms relaxed at the sides, hands loose. Show the complete outfit from collar to shoes, centered with clean space around the figure. PANEL 2 — BACK Full body back, cropped at the base of the head so the frame runs from the nape to the floor. Same relaxed stance, arms at the sides. Show the back of the outfit, sleeve details, hem, trouser drape, and shoe heels and soles. PANEL 3 — PORTRAIT Chest-up portrait. Face turned slightly toward a three-quarter angle, eyes looking directly at the camera, head tilted a touch, lips softly closed with a calm neutral expression. Show the face, hair, skin texture, collar, and upper outfit details clearly. LIGHTING AND CONSISTENCY Soft, natural, diffused studio light across all three panels. Soft key from camera-front at a slight angle with broad fill. Soft shadows, no harsh contrast. Sharp focus throughout. Keep the same identity, skin, hair, wardrobe, accessories, and proportions in every panel. FINISH Hyperrealistic photography. Natural skin texture, visible pores, fine peach fuzz, and subtle imperfections. Realistic individual hairs and flyaways. Fabric with visible weave, natural weight, drape, and material-appropriate sheen. Eyes with natural reflections and moisture. Real surface detail on metal accessories. Kodak Portra 400 film emulation, fine grain, gently warm colors, slightly lifted blacks, and a soft lens vignette. Lived-in, not pristine. Photographic, not rendered.
Check that the face and outfit stay consistent across all three panels before moving on.
Here’s what I got.
Front, back, and portrait in one character sheet.
Use this video as your reference.
Download the clip below, then upload it to Higgsfield Genjutsu as your reference video. Use your character sheet from the previous step alongside it.
Reference video credit goes to Fred again.. Listen to the full set ↗. It’s an absolute banger, with unreleased songs in the mix.
Bring your references into Genjutsu.
Open Higgsfield Genjutsu and follow the walkthrough.
- Select Motion transfer and add the reference video you downloaded.
- Add your character sheet under “Add your characters, products, or clothes.”
- Turn on Prompt and paste the text below.
- Generate, then check that your face and outfit stay consistent throughout the clip.
Use the exact face from my attached character sheet. Don’t change the facial features or identity. Use the outfit in that reference image and apply both the face and outfit to the main character in the video, the DJ wearing white. Keep the face and outfit consistent throughout the video. Preserve the original movement, camera, background, and other people.
How to put them all together.
Here’s the edit in CapCut. Follow along and pause whenever you need to.

Boiler Room logo
Download PNGThe first of many.
Follow me on Instagram @advmsyed for more tutorials. This is just the first of many. Hope to see you soon.
I’m also putting together a class. Sign up for my newsletter below to hear when it’s ready.